Photographing the night sky can be a rewarding and addicting hobby! But it can also be daunting and overwhelming to many photographers, both amateur and professional, as it requires a lot more than simply pointing, autofocusing and shooting your DSLR. Here are six handy tips to help you take your first steps into successful night sky photography!
– Photos by Shane Turgeon
Helpful Links:
Getting Off Auto
Many casual photographers take lovely photos of their family or nature scenes while never taking their cameras off auto, letting their cameras do all the thinking. But to truly experience and utilize your camera’s utmost potential (and your own!) one must break free from the auto trap and learn how to use your camera’s manual settings. One of the most important things to understand when shooting in manual mode is the “exposure triangle” and how shutter speed (exposure time), aperture (the amount of light your lens is letting through) and ISO (your camera’s sensitivity to light) all relate to one another. With night sky photography we typically want to have a “fast” lens (meaning one with a wide aperture such as 2.8), use wide angle lenses (set to manual focus), have a longer shutter speed that won’t cause the stars to “trail” (see the following point), and use a higher ISO. All of these things combined will allow more light to reach the sensor, which makes a camera able to capture the night sky with greater detail. Ideally you want to be using your maximum exposure time and widest aperture before cranking up your ISO. Too high of an ISO and you will start experiencing severe signal “noise” which can ruin your images.
Understanding Exposure Time
Getting the correct exposure time can be a tricky balancing act. While it’s virtually imperceptible as we stand on the surface of the planet, the earth is spinning through space at incredible speeds. This becomes particularly evident when photographing the stars. If you leave your shutter open too long, the stars will begin to leave little trails. If you don’t have a long enough exposure, your sky and foreground will be too dark.

If you’re just starting out and your goal is to have a good exposure and tack sharp stars in your photos, you can use something known as the 500 Rule. Now, bear in mind that this rule is only a loose guideline and doesn’t take into account a wide variety of other factors but the nuts and bolts are this: your shutter speed is equal to 500 divided by your focal length. For example, if you’re shooting at 20mm, your exposure time would be 500 divided by 20, giving you a 25 second maximum exposure time before your stars start to trail. If you’re shooting at 14mm, you’d divide 500 by 14 giving you 35.7 seconds maximum exposure time. As you progress deeper into night sky photography you may want to purchase a tracker which turns your camera with the rotation of the earth, allowing for much, much longer exposure times.
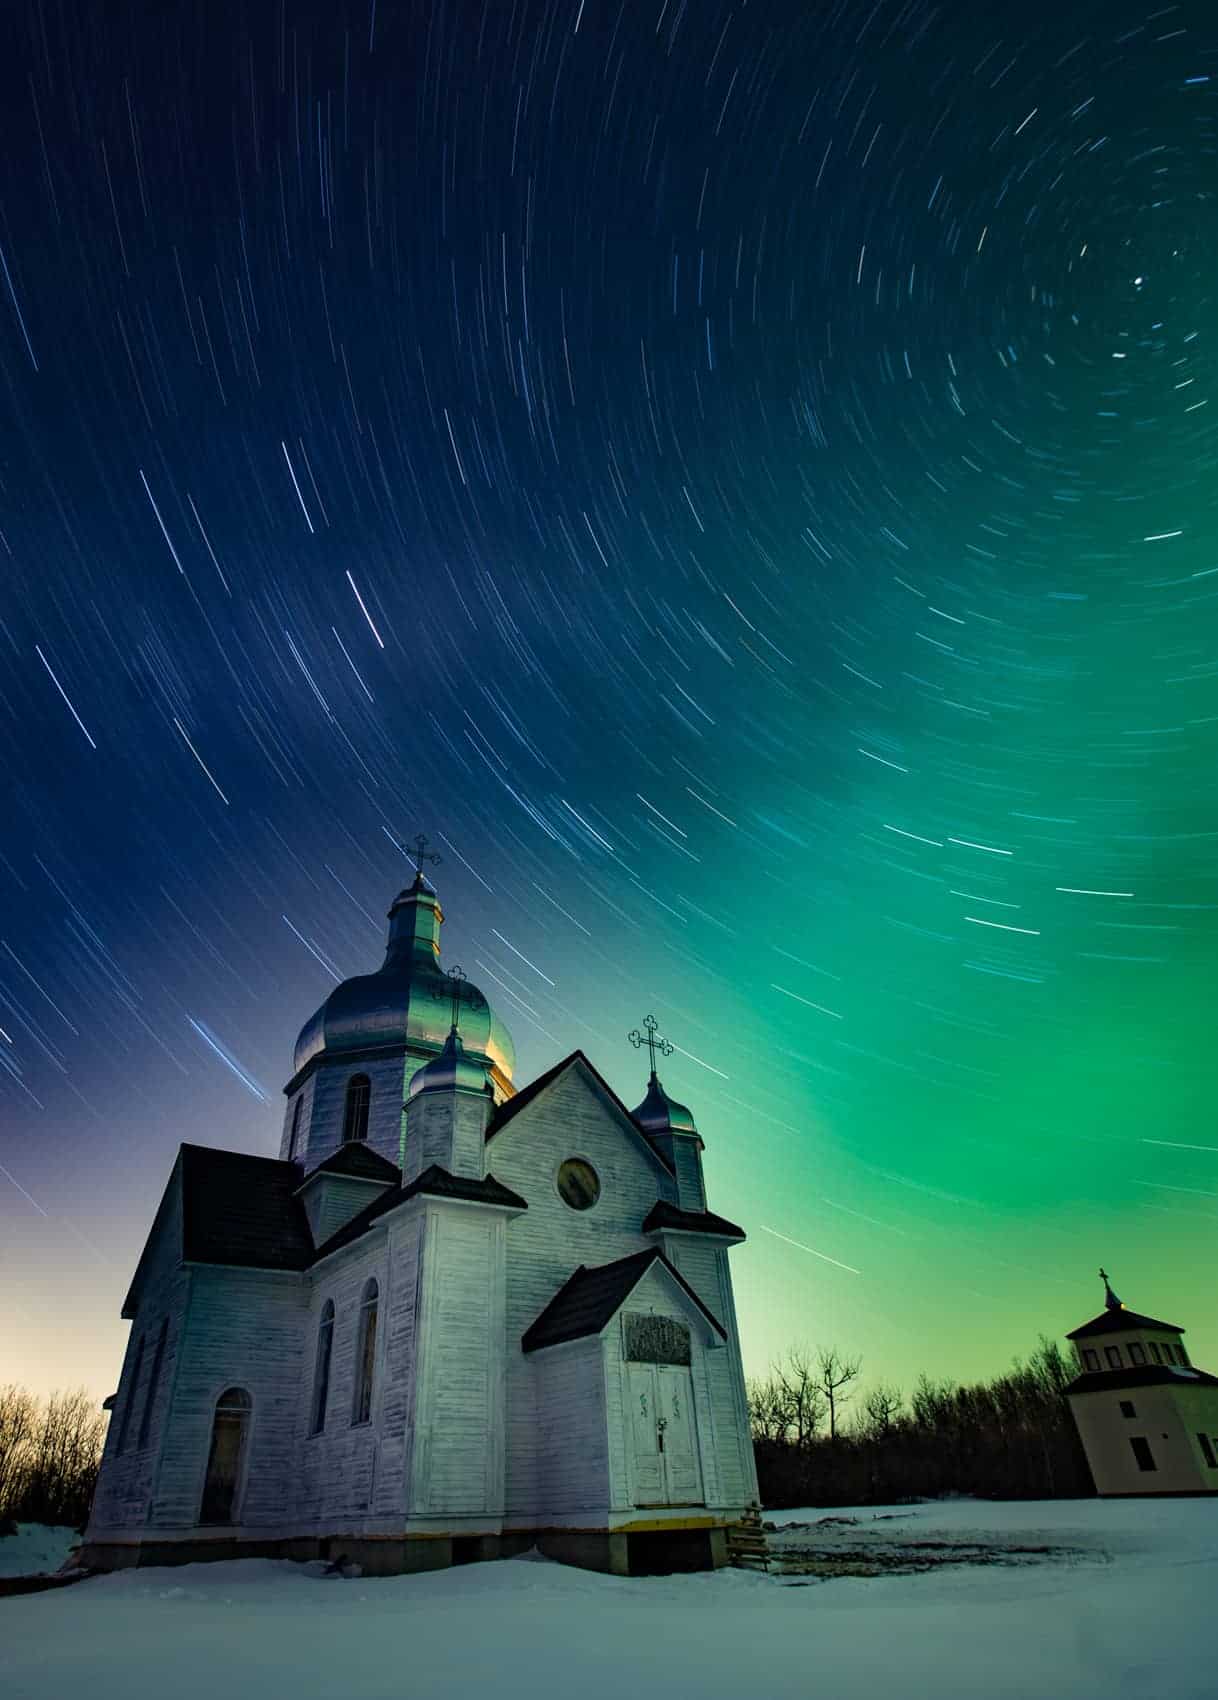
Before you completely discount long, untracked exposures, however, it’s important to know that star trail photography is also a very, very popular and stunning type of night sky photography. To achieve compelling star trails as a beginner, you’ll need to leave your shutter open for at least 15 to 20 minutes or longer. Depending on the type of camera you’re using, you’ll likely need a remote shutter release and to have your camera in “bulb” mode. As you progress, you’ll learn there are other ways to make star trails using an intervalometer and stacking those exposures using programs like Photoshop.
Pro tip: you can’t do any of the above without a sturdy tripod!
Focusing in the Dark
Perhaps the most challenging aspect of night photography is making sure your images are in focus. Depending on the type of camera you have, there are a few ways to achieve this and these are two of the easiest:
Once you’ve determined which focal length you’ll be shooting at, activate the live view mode on your camera’s rear LCD screen. Point your camera and lens at the brightest star you can see. Using the magnification button on the back of your camera, zoom in 10x on the star (note you may need to move the camera ever so slightly to keep the star in frame as you magnify). Once the star is in the centre of your frame, manually focus your lens until the star is tack sharp.
If your camera doesn’t have a rear LCD or live view mode, you can use your standard viewfinder to focus by using an object such as a sign or vehicle license plate so long as it’s roughly 25ft or more away from you. Simply set your focal length, point your camera at the object, shine a light on it so it’s visible and then manually focus your lens until the object is in sharp focus.
Pro tip: simply setting your lens to “infinity” likely won’t produce sharp images as very few lenses are actually sharp at infinity.
Interesting Subject and Foregrounds
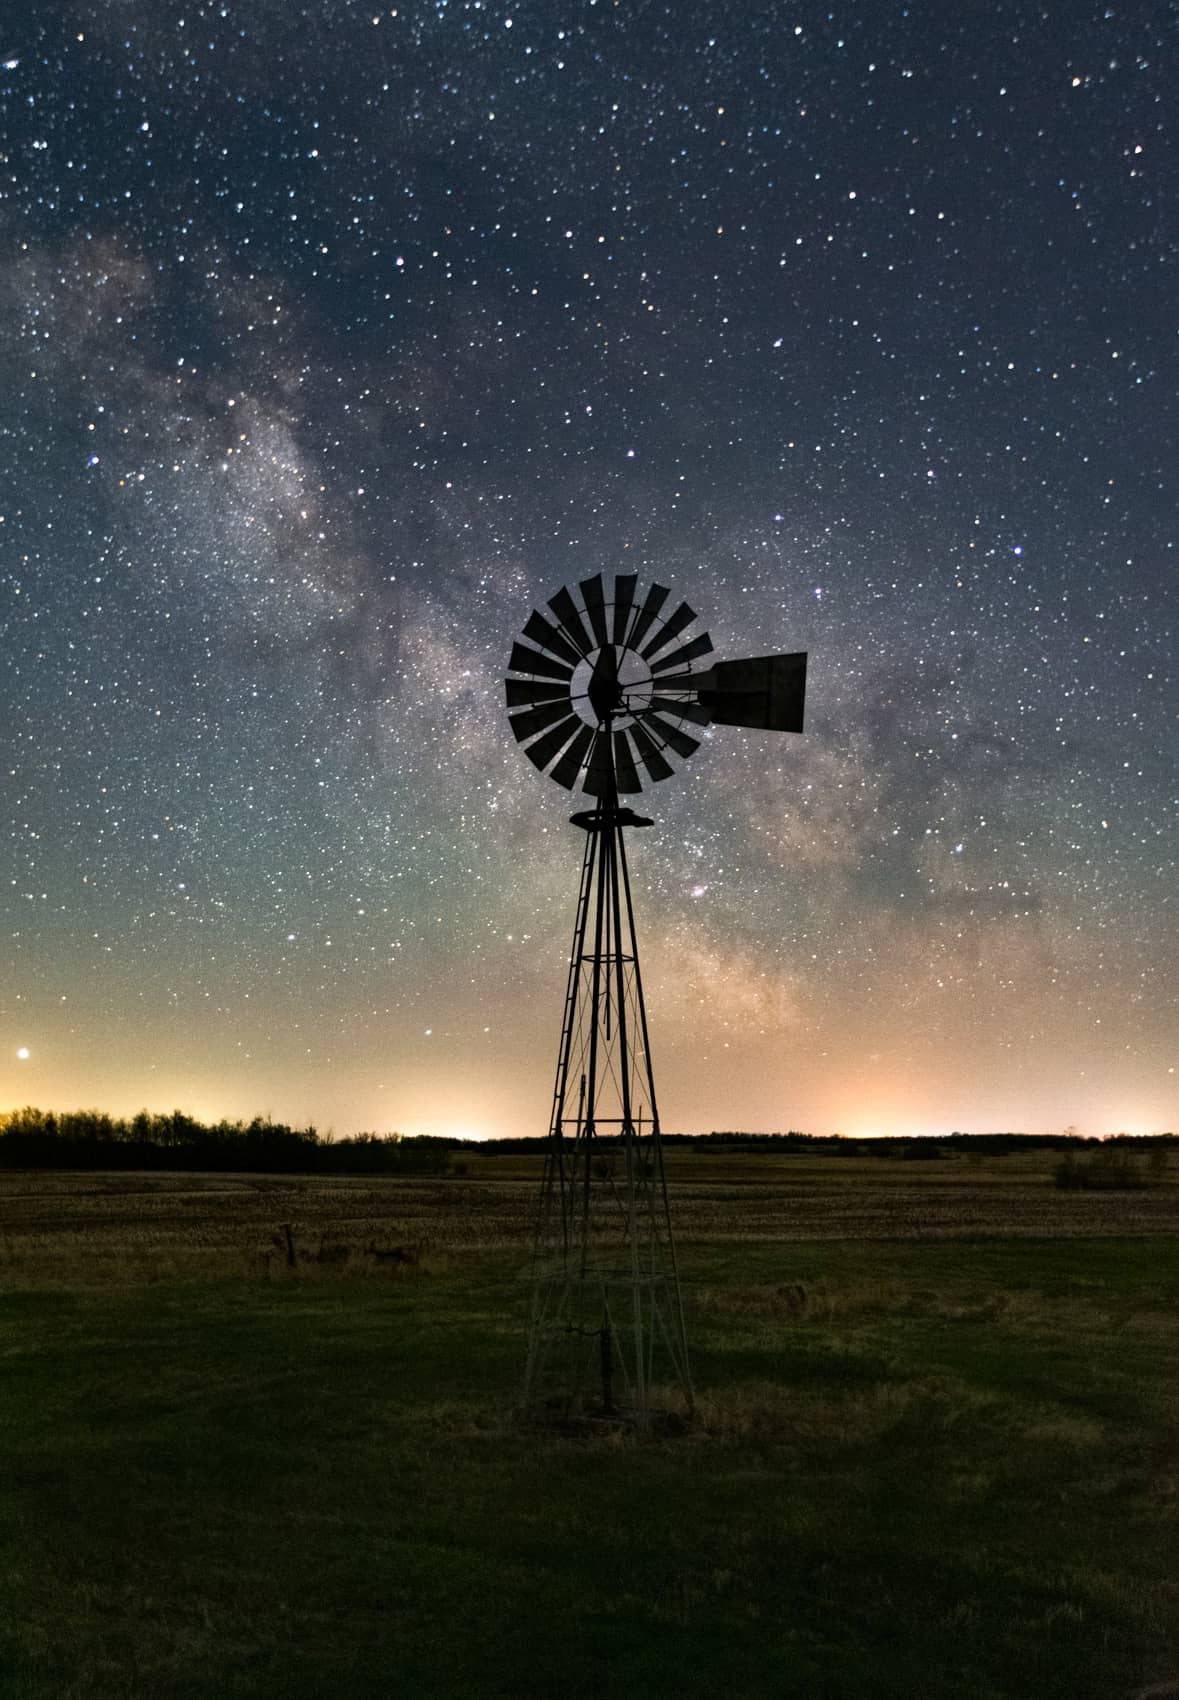
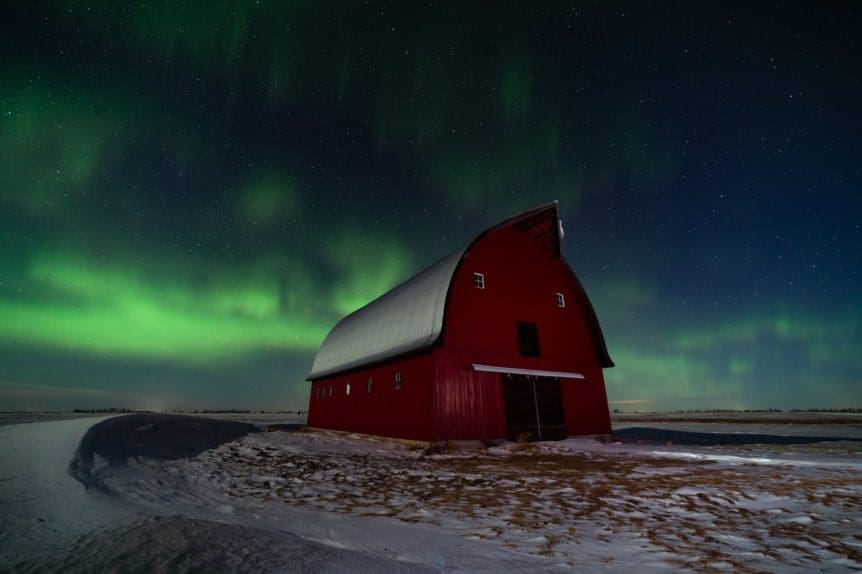
When you’re just starting out, you’ll be blown away by the images you get simply by pointing your camera up at the sky. But compelling nightscape photography is so much more than just a starry sky. Typically we want to find interesting landscapes or foreground elements that are the true subject of our photo. The stars only serve as an accent to the overall composition. Whether your subject is a mountain, a still lake, hoodoos, or abandoned farmsteads and churches, each becomes the star of the show, more so than the stars themselves.

Scouting
But how does one find these compelling subjects and foregrounds? That’s where scouting comes in! Whether you’re exploring a new area that you’re visiting for a few days or just taking a country drive, scouting an area during the day is a perfect way to establish your shots and locations before venturing to them at night. It’s also a great way to ensure that the area you’ll be shooting is safe.
Pro tip: if scouting rural locations for cool locations such as farmsteads or roadside sloughs (for reflections), make sure that powerlines won’t interfere with your shot. And always be sure to get permission before entering private property!
Understanding the Night sky
In order to truly be a successful night sky photographer, one must have a strong understanding of the night sky; it’s movements, the various elements and what time of the year is best for certain things. If you haven’t already, check out our handy tips for Understanding the Night Sky.
—
About the Author: Shane Turgeon is an award-winning nature and night sky photographer. He has a keen interest in sharing his passion for the night sky and offers several workshops for beginner, intermediate and advanced photographers hoping to improve their astrophotography skills.

